 |
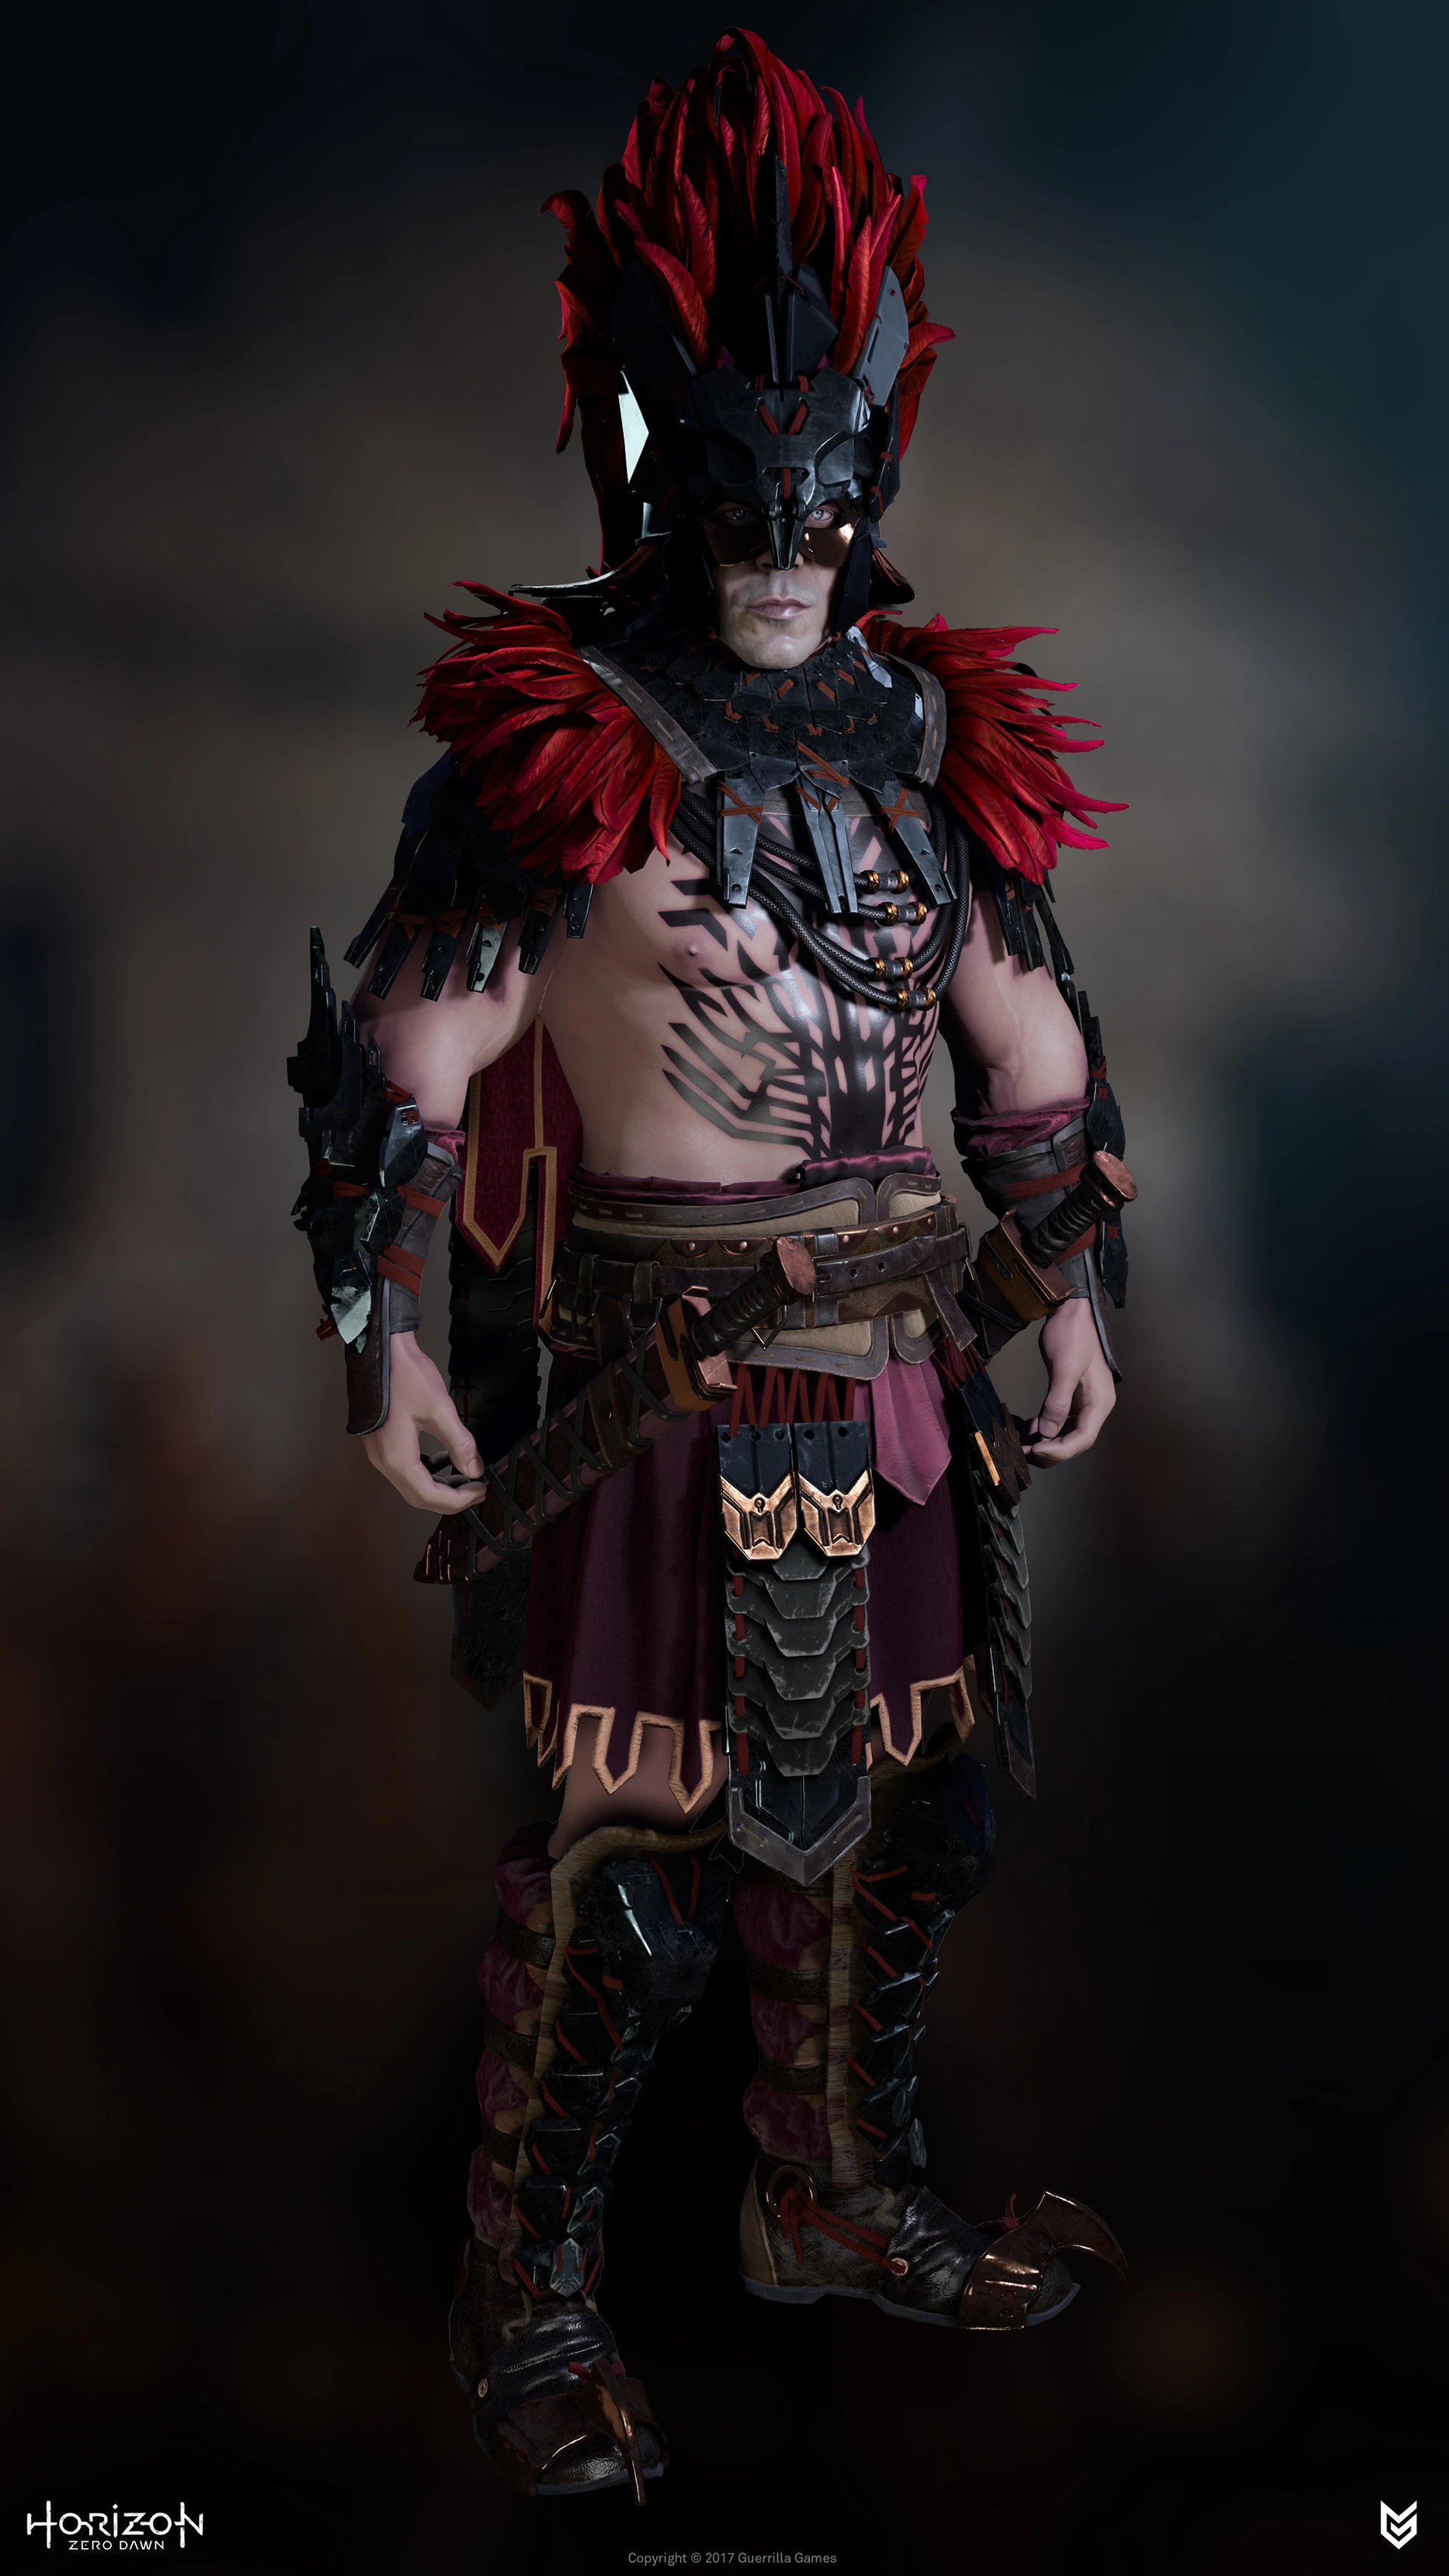
| Aloy concept art by Guerilla Games, from which I took inspiration for my Megari original character |
So far I made 2 of those shorter ones, but since they tend up to be lost on social sites, I decided to sum them up into one article and maybe explain them more for those, who prefer longer descriptions :)
1) Carbon Fiber surface

If you want to make a carbon fiber surface on your cosplay, you have several options how to do it, but this one works the best for me:

1) paint your armor/prop/cosplay black. Take a sieve and put it very close to the surface of your cosplay. Spraypaint the surface through the sieve with color of your desire, but metallic gray or darker silver works the best. Remember the sieve cannot be used for cooking after that! This can be done also with meshed fabric (or actually anything with meshed structure)
There are two more options for you to choose if you don't like this method. You can:
2) Use carbon fiber sticker for cars - it is good for straighter surfaces, but it can be heated up a little and bended too. (On the rocket launcher picture, you can see me using the carbon fiber sticker first, but since the surface was really bulky, it wouldn't stick well and fit well, so I decided to use a sieve eventually).
3) Mustered stamp from foam
Some foam mats have a structure on the bottom side and you can use the structure as a stamp. Just dip it in lighter color and stamp it on the thing you want to carbonize!
If you don't have stuctured foam, just make not very deep cuts into your foam in two directions, heat it up with your heatgun till the cuts open up
and then use it as a stamp.
2) Wig untangling

On the left pic you can see the wig of Xena after a con - fairly tangled and messed up.
1) Put your wig at a head dummy - I made a hole into my head dummy and put it on my mannequin stand.
2) Spray your wig with a non-wash hair conditioner or a simple mix of fabric conditioner with water.
3) Take a comb with teeth further apart and start combing your wig FROM THE BOTTOM TO THE ROOTS.
Do not use s lot of force and help it by holding the hair with your hand to prevent the wig from tearing the hair out. Move slowly upwards and take your time.
3) Felt feathers

Feathers are a common part of a cosplay and for a lot of projects, the real feathers look the best. But for my Shadow Carja warrior, I took inspiration from this design regarding the feathers, where they can really be done well with felt feathers. My friend Ali cosplays as Helis and chose this solution for his cosplay and also recommended using this technique!
There are three more advantages of using felt instead of real feathers:
1) FLEXIBILITY If you use a wire for a core, you can bend them in any direction you need and the will hold the shape.
2) DURABILITY If you've ever had real feathers on your cosplay, you know they can be destroyed or damaged very easily. That is not the case
3) CUSTOMIZABILITY If you have troubles finding feathers in the right color, length or shape, this is the best solution for you.
And how to make them?
You just need a lot of felt - and I discovered using felt in yardage is better than using creative felt (I guess creative felt has lower quality). I took a piece of it, cut it in half and had two same pieces of felt. I drew the aproximate shapes of the feathers I liked on one piece of the felt (but you can use a pattern for the feathers if you need to have them the same shape). Then I cut a binding wire - it should be always a little longer than the feather (on one side). I sprayed the felt (both pieces) with bullet bond spray glue (please cover your floor before spraying the glue, or it will be sticky forever lol), laid one wire into each feather (on one of the pieces) and glue the felt pieces to each other. Then I cut the felt feathers out of the felt piece one by one with scissors, made small cuts on the sides to make them look more feathery and fluffy and airbrushed them with darker color to make them look more real and 3D.
Good luck on your projects, guys! :)
 |
| Shadow Carja warrior Megari (Germia), Helis (Ali), Aloy Shadow Stalwart (Ketrin) |
I hope this article will be useful for someone and if yes, you can follow my work on cosplay (and other stuff) on my FACEBOOK PAGE or TWITTER or INSTAGRAM.
And if you like this stuff I do, you can support my work by donating on my PATREON.
Yours
Germia

0 komentářů:
Okomentovat