 It is a while since I made my last tutorial, so I decided to make this shorte article about making blueprints and sizing your props. I also added few of my own blueprints for you to download for free!
SIZING YOUR PROPS
Before you start making any prop, you have to make sure it is the right size for you. Even you are aware, that in the game the prop measures 2 meters and it is carried by a huge orc, you have to scale it accordingly to your human measurements, otherwise the prop will not look good andit won't look convincing.
But even the scaling is on of the most important parts of making props, it is in fact the easiest part.
You'll just need:
- A ruler
- Your height
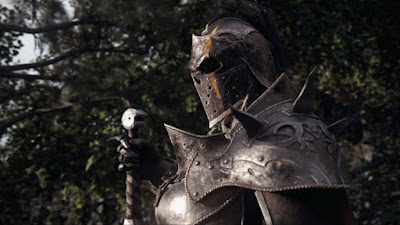
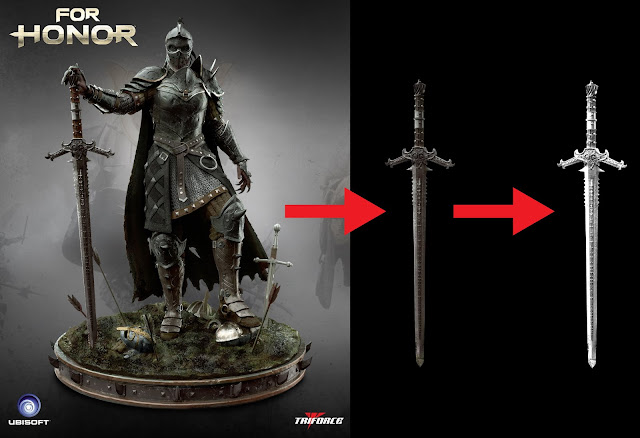
- A screenshot of your cosplayed character with the prop properly displayed - On the picture below you can see examples of what I mean by "properly displayed" - on the first picture, the sword is slightly tilted to the side, so we can't tell it's real size and the character's boots are not visible, so we can't tell the exact height of the character. The same goes for the second picture - even we can see a lot of details on the sword, the picture is not useful for measuring. On the last picture, the sword and the character stand straight next to each other, so you can compare their size easily.
If you don't manage to find a suitable picture, sometimes you can use other parts of the character's body to tell the size of the prop.
MAKING BLUEPRINTS
With your suitable picture prepared, where the prop lays flat, cut the prop from the picture using freehand cutting tool in GIMP or any other bitmap editing software (but GIMP is for free) (cutting the Apollyon's sword starts around 0:47 in the video below). If you want to spare your color printer, adjust the saturation to zero and play with levels to adjust brightness and contrast.
Then there are two ways to go - if the picture of your prop has a good resolution and good visible edges, you can leave it as it is.
If your picture has bad resolution or not very visible edges, you can convert it to curves in Inkscape vector editing program (see the video for how I make it - just select convert bitmap, detect edges and adjust it however you like) and export it into png.
With curves, you can then enlarge the picture however you desire without losing resolution and getting the pic pixelated.
Sometimes I use the vector picture to overlay the bitmap to get visible edges and also fine details, that can get lost in vector conversion (I did this with Skadi spear in the video below).

Next step is to get the right measurements of your prop - either you can count the size of A4 papers and how many you have to use for the prop to be as big as you need and export them in Word, or slightly easier way is to put your weapon into Inkscape program, where you can see the size of your prop picture (in the upper rail), so you can resize it accordingly, then you just move the picture on your A4 canvas and export the canvas by moving the picture. You can make small marks, where the paper should connect, but when your prop has enought structure, it is easy to see, where the paper should connect.
Livestream of me making blueprints HERE:
Sledujte hru Pattern making - sword and spear by Germia - CZ od uživatele DATgermia na adrese www.twitch.tv
FREE BLUEPRINTS
As I've made some blueprints already, I decided to share them with you :)
Keep in mind they are scaled for 180 cm high person (me), so I'll include the not cut versions too as pictures here, so you can adjust them by yourself if needed. You'll start the download by clicking on the text:
Apollyon's sword:
 |

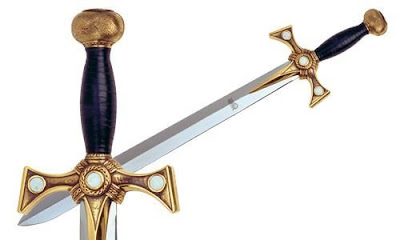
Xena's sword

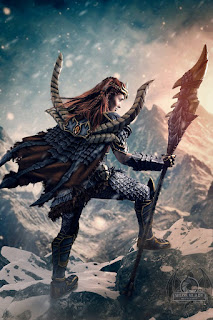
Skadi's spear

 And that's it! I hope this article will be useful for someone and if yes, you can follow my work on cosplay (and other stuff) on my FACEBOOK PAGE or TWITTER or INSTAGRAM.
 And if you like this stuff I do, you can support my work by donating on my PATREON, because their donations made this tutorial possible.
Yours
Germia


0 komentářů:
Okomentovat